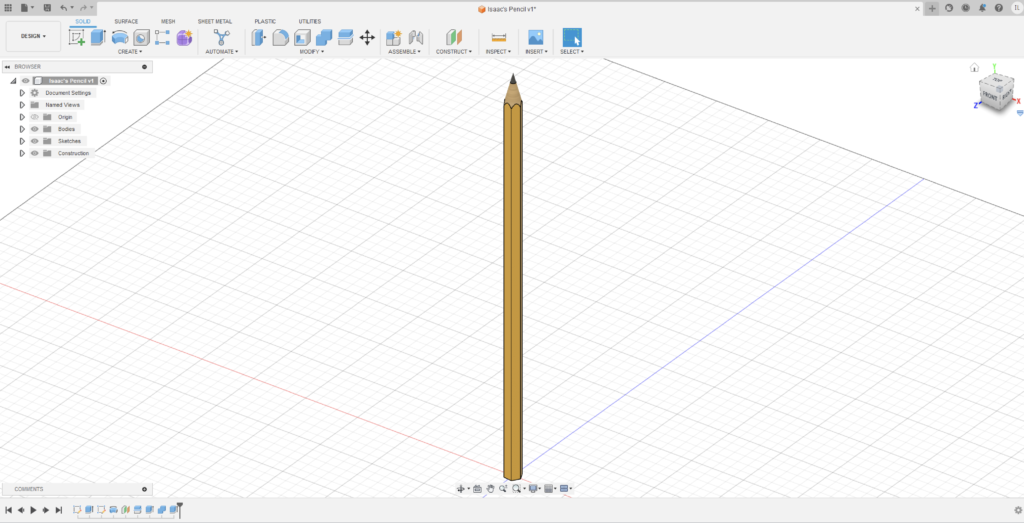
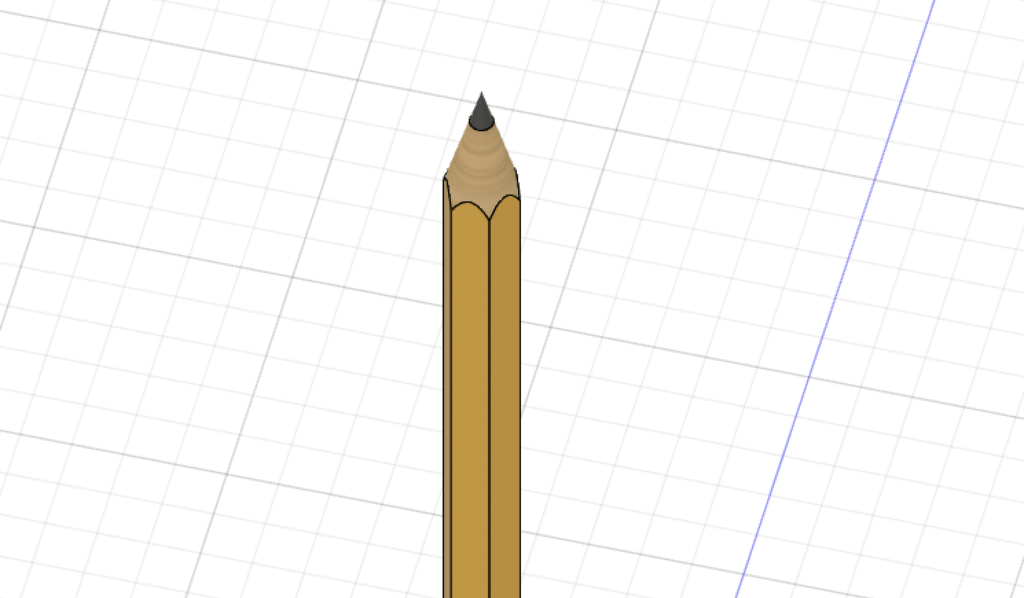
For this lab, I decided to model a No. 2 pencil. It seemed like a simple object to make at first (rotational symmetry, no moving parts), but it proved surprisingly difficult. I had to create 2 separate bodies, one for the lead all the way through the center of the pencil and one for the wood. Another challenging step was creating the cone, which I did by rotating a triangle 360 degrees around the “central axis” of the pencil. One compromise I made was not adding the eraser; I gave an effort towards making the metal eraser casing/holder but it was too difficult for my current skills. This tool has obvious uses in the humanistic areas of both research and teaching: pencils are essential to recording findings in research as well as taking notes and doing homework in a classroom environment. The pencil has been one of the most central tools to my life thus far. My only real tip is to look up what each tool does on the internet 🙂

I think it’s cool that you used the internet to look up how to make the pencil look better.
This turned out great! The colouring and general shape match up really well to an actual pencil. And yeah – using the internet for information is always a good idea with tools like these, if you need to understand something, odds are someone else has figured it out before you. How did you get that nice connection between the main portion and the wood?
This wooden pencil looks so awesome! I really like that the tip looks like it was actually sharpened because of the different shades of light tan and slightly darker tan. Also, you are so real for looking up how to use the tools and that is genuinely a good tip.