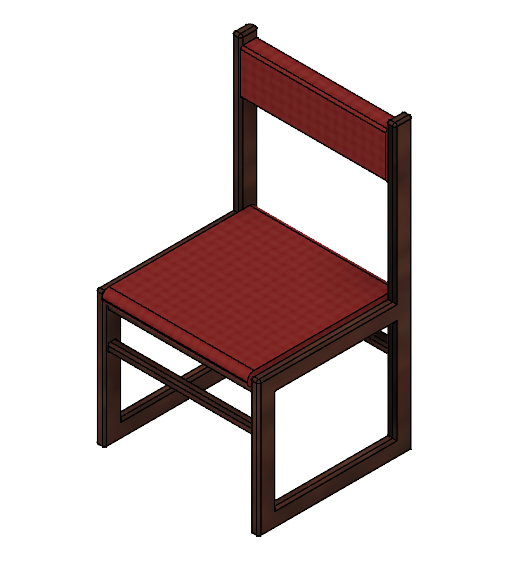
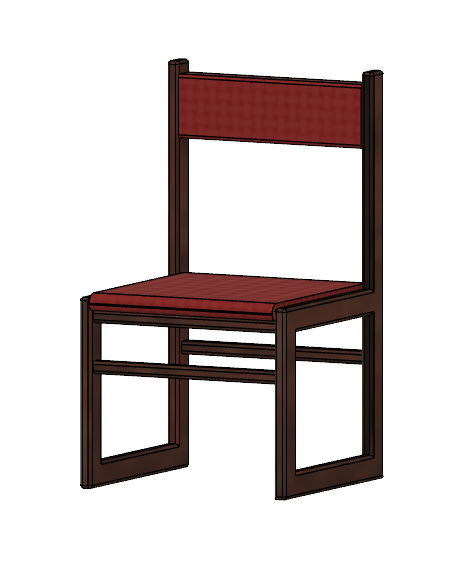
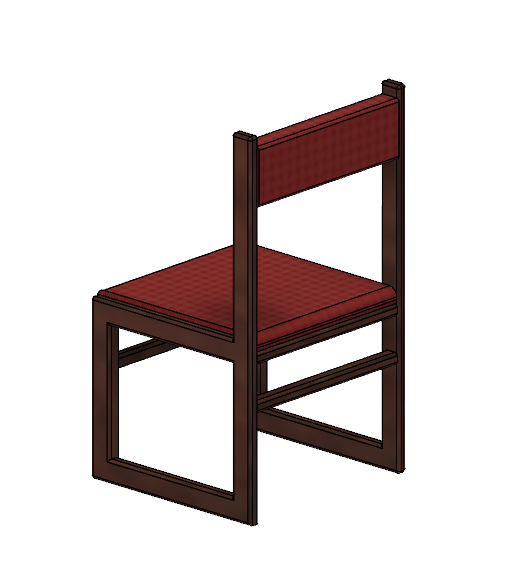
At the beginning of this lab I attempted to make my smartwatch, but very quickly realized I didn’t know the software well enough to successfully create the intertwining and curved straps or separate the straps from the watch base. I wasn’t sure how to create different components in the program, so extruding and shaping the object had to be done in one big piece. I couldn’t make individual adjustments or move parts around, making it a big weird-looking mess. I decided to take an easier route, and my compromise in this project was choosing a simpler, more square-shaped object: a chair!
I started with the wooden frame for the chair before adding the cushion seat and backrest, which was all much easier than the watch because the edges were easy to line up and make proportional. Constructing the frame was essentially just creating sketches of rectangles and lines that connected together and then extruding them, making this part of the process relatively easy. From there I filleted all the edges, which was also very simple. The most difficult part of the framing was selecting all the edges so I could fillet them. I would try to select as many edges as possible by shift-selecting, but would often end up accidentally deselecting them all after several minutes of turning the chair around and around, zooming in and clicking edge after edge. I’m still sure there is a faster, more efficient way to mass select edges, but I didn’t find it during this lab. Another difficult element was moving the lines around; my sketches were drawn on only one plane, meaning it didn’t necessarily align with other components correctly on the other two planes. When I would move or alter sketches it would sometimes cross with lines it wasn’t meant to, which I would find out when I attempted to extrude a piece and the program wouldn’t let me. Even the smallest overlap would prevent me from extruding, making the process very frustrating at times. My last step was choosing and applying the appearance function to the chair to make it look realistic, which was easy except for the same problem I ran into with filleting; mass selecting the sides. Overall, I feel as though I took the long way with many of my methods, but also grew more skilled and efficient at the software as I spent time with it.
The humanistic uses for CAD design in research and teaching are 3D mapping, digital recreations, research designing/experimenting/testings, and even infographics or informational videos. All these things use CAD programs or would be enhanced with these programs, and are vital in a digital age for teaching and conducting research. We could even get a little meta and see the programs themselves as pieces of history to teach and learn from; look at the CAD programs 40 years ago compared to the ones available now. CAD programs themselves could be the subject of humanistic inquiry and learning.
MY TIP FOR AUTODESK FUSION 360 USERS: The most frustrating thing I ran into was when my mouse would somehow lock dragging the perspective cube and turning the image. Anytime I moved the mouse it would just turn my object, making it impossible to do anything. However, I finally figured out how to turn it off! You have to click and slowly drag horizontal across the cube in the corner, which turns that setting on and off. Surprisingly, quitting the software and reopening it doesn’t work, so I spent A LOT of time struggling with that.
HTML in Word Press:
underlined AND put into italics
bold and fineprint!
adding a link to a picture

First of all the chair you modeled looks really good! Its dimensions look pretty accurate to real life. I find it interesting how you 3d modeled the chair in a similar way to building a real chair. Starting with the frame, and then fastening on the cushions . In regards to your tip, thank you! I was having that issue when I first started working on my model and after a lot of frustration I eventually got it to turn off, but i could not figure out how I did, now I will actually know how to fix it!
Wow, this is a super cool model! The amount of work you put into it is impressive. Also, thank you so much for that tip about getting the mouse unstuck from perspective mode! That happened to me multiple times and I just closed the tab and reopened a new one to get rid of it. This will certainly save me a lot of time and frustration in the future.