Last week, you got a brief introduction to digital collections and metadata through the collection management program Omeka and our sample site featuring archive objects. Today, we are taking a deeper dive into the Carleton College Archives to begin work on a class project 3D modeling and exhibiting objects from the archives.
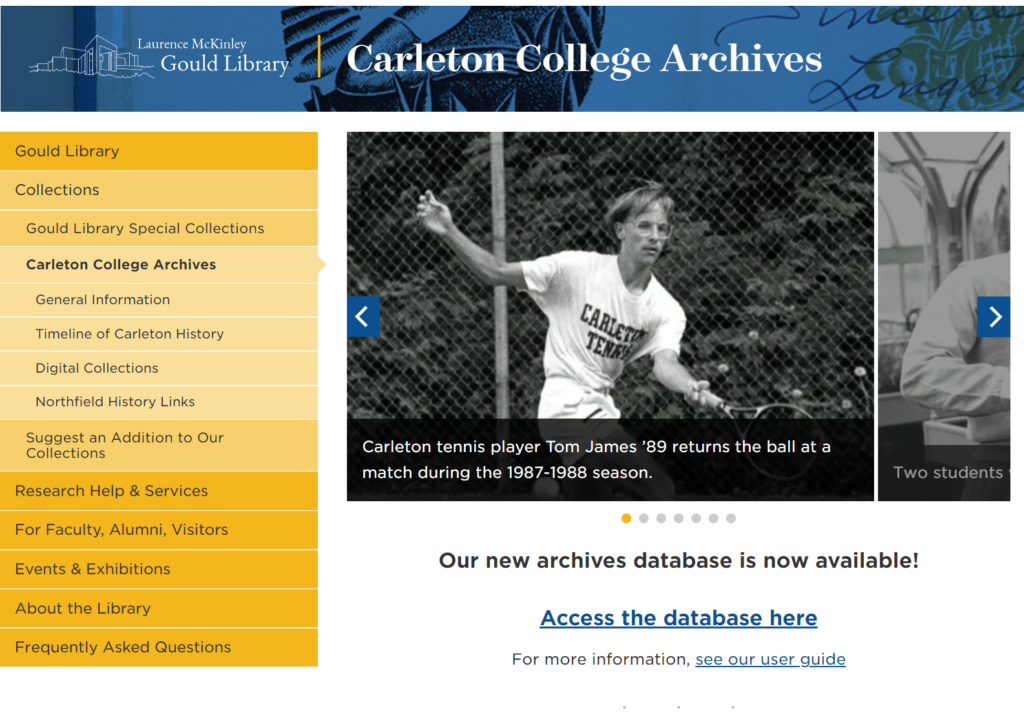
This class project will both help jumpstart the archives’ effort to create a 3D gallery of their collections and serve as an example of the type of project you might want to do for your final project.
3D Collections and Photogrammetry
There has been a large initiative among museums around the world to create 3D versions of objects in their collections. Among these include the British Museum, which has made hundreds of scans publicly viewable on the popular 3D modeling site SketchFab, and the Smithsonian, which has designed several online 3D exhibits (including this creepy one of Abraham Lincoln’s death mask!).
In addition to high-tech laser scanning, many of these models are using a method known as Photogrammetry, which creates 3D mesh models from photographs. Photogrammetry is another algorithmic modeling technique that consists of taking multiple overlapping photographs and deriving measurements from them to create 3D models of objects or scenes. The basic principle is quite similar to the way many cameras these days allow you to create a panorama by stitching together overlapping photographs into a 2D mosaic. Photogrammetry takes the concept one step further by using the position of the camera as it moves through 3D space to estimate X, Y and Z coordinates for each pixel of the original image; for that it is also known as structure from motion or SfM.
Photographing Objects
We will learn how to process and build a Photogrammetry model next class. For today, however, we will focus on the most important step: taking good photos.
Photogrammetry relies upon having enough photographs with sufficient information for the algorithms to stitch images together and extract 3D geometry from them. You can do this using any camera, including the one on your smart phone!
With a mobile phone camera, you’ll want to make sure you follow these guidelines:
- Have your scene well and consistently lit — DO NOT CHANGE LIGHTING between shots.
- Turn off the flash — because, again, DO NOT CHANGE LIGHTING between shots
- Use the standard photo settings rather than a “portrait” mode or similar. You want deep focus
- Have the object fill as much of the frame as you can
- Start at one point and circle the object, overlapping photos by ~50%
- Repeat at multiple heights to get full coverage
- Take several close up shots to get shadowed areas and detailed textures — but DO NOT CHANGE camera settings, zoom, etc.
- If possible, get shots of the top and bottom of the object for full 360 degree coverage
Goal: Preview photogrammetry objects, take photos of objects
Lab Assignment (due Sunday): Photograph and Catalogue Object
Your assignment for this week is to, in a group of 2-3, photograph an object of your choice and add it to our Omeka repository. This will prepare us to process 3D models next week.
Select your object
- During class, you will select an object to focus on in a group of 2-3 students.
- Note: Have one student focus on taking/uploading photos and the others on creating the Omeka entry and researching the object.
- During or after class, go to our list of archive objects on the google drive and enter the names of your group members next to your chosen object.
Photograph Your object
- During class, take 80-100 photographs of the object by walking completely around at least twice, taking photographs at multiple heights/angles + top coverage and bottom, as much as the table allows. (see Taking Photos video and tips above)
- Don’t forget some close up shots of texture details and especially any shadowed areas.
(NB: take closeups by CAREFULLY moving physically closer — NOT by adjusting the zoom on your camera).
- Don’t forget some close up shots of texture details and especially any shadowed areas.
- Upload your photos to the appropriate folder in the Museum Objects shared Google drive
- NB: If your phone took the images as HEIC files, you’ll need to convert HEIC to jpg
- I also recommend uploading your photos via DropBox or with a cord connection to your computer. Copy the photo files from your phone, to a local desktop folder, then upload to Google Docs.
Add entry on object to our Omeka collection
- Log into our Carleton Archive Objects Omeka site, and create one new item for your group’s object in the “Carleton Archive Objects 3D” collection following the general instructions in the previous instructions for adding items in this Omeka Guide.
- Fill in the metadata specifications below to the best of your ability. You can find most of this information on the item’s Carleton digital collection entry, but you are encouraged to also do some independent research.
- Collection: Carleton Archive Objects 3D
- Dublin Core (example object)
- Title: “Track trophy cup”
- Subject: “Historic Carleton Sports”
- Description: A brief sentence or two that summarizes the key information about the object.
- Creator: “St. Paul Pioneer Press and Dispatch“
- Source: “unknown”
- Publisher: “Carleton College Archives”
- Date: “May 21, 1915“
- Contributor: The names of the three members of your group, separated by commmas
- Rights: “Carleton College encourages the use these materials for research, teaching, and private study according to our Terms of Use, available at https://apps.carleton.edu/digitalcollections/about/terms/”
- Relation: Record identifier (“OA00121”)
- Format: Medium (“metal”)
- Language: leave blank
- Type: “Trophy”
- Identifier: Accession number (“OA00121“)
- Coverage: Place of origin (“Carleton College”)
- Item Type Metadata
- Item Type: “Still Image“
- Original Format: “Physical Object”
- Physical Dimensions: Dimensions: H x W x D (“27 x 18 x 10 cm“)
- Files: Add a photo of the object, either your own or that in our shared object photos folder
- Tags: Add any other free tags that make sense (e.g. “trophy, track, etc.)
- Save
- NB: CHECK THE PUBLIC BOX.
Turn in your assignment
- Finally, each group member should individually submit the link to your object’s Omeka item (e.g. “https://csaladin.sites.carleton.edu/archiveobjects/items/show/17”) by pasting in the Moodle assignment.
Specifications
Complete Labs must include
- All photos taken of object in their respective Museum Objects folder
- An Omeka item created with metadata fields filled in
Note: If you intend to use your own machine next class (i.e. not a lab computer), then you will need to install the Photogrammetry software ahead of time. You can download and install it yourself from the Autodesk Education site. You’ll need ReCap Pro software and Autodesk Desktop Connector software for Windows.
